If you just bought a new bidet or are thinking of buying a new bidet, this guide is for you. We will teach you how to install a bidet in your bathroom and walk you through the steps to ensure safety and accuracy. Without further ado, let’s get started.
Before we get into installation, let’s first determine what type of bidet you are looking to install. Today there are many different styles of bidets, as well as names they are often referred to. To avoid confusion, let’s review the types of bidets available on the market today.
Types of Bidets
Stand alone bidet
Free-standing unit (separate from toilet) that sprays a soft, vertical stream of water for cleaning the genital area after using the toilet. Requires a working knowledge of residential plumbing or professional installation.
Bidet Attachment
Can be added to an existing toilet. Sprays a vertical stream of water for cleaning with a remote attachment on the side. Can be installed without professional assistance.
Toilet Seat Bidet
Replaces an existing toilet seat, sprays a vertical stream of water for cleaning while sitting on the toilet. May also have additional features such as water pressure, heated water streams, and air drying features. May require handyman skills, always refer to the installation guide before attempting to install
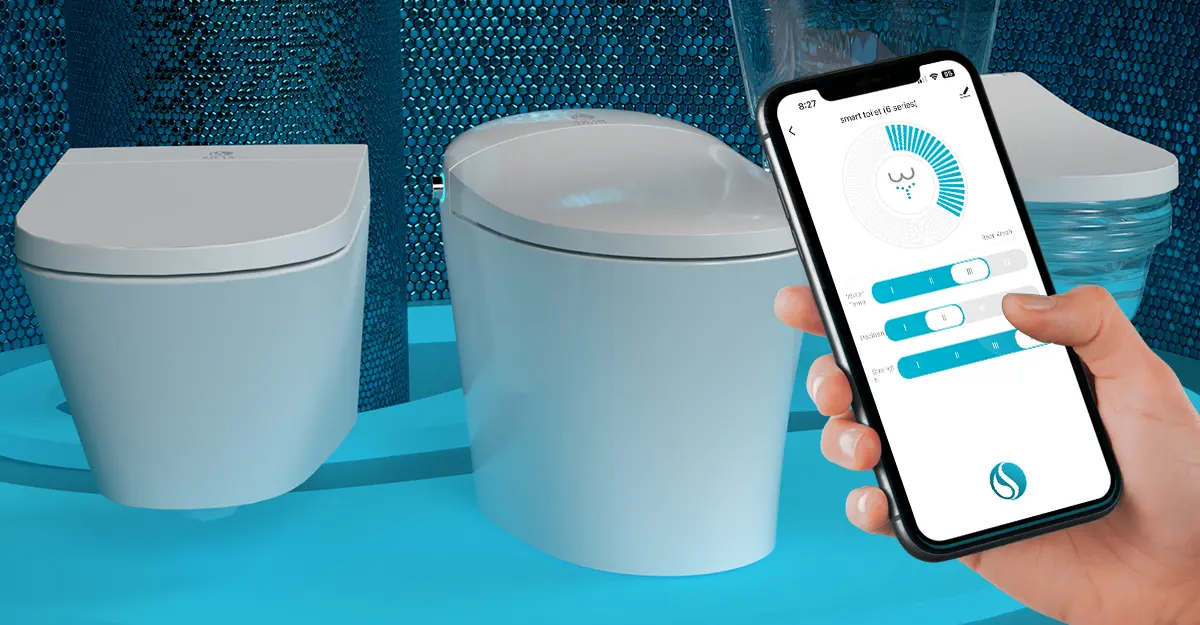
Bidet Toilet Combo (aka smart toilet)
Stand alone toilet with built-in bidet features. Often comes with luxury features such as heated seats, control of water pressure and temperature, air drying and deodorizing features, auto open/close toilet lid, and self-cleaning and sanitizing modes — the ultimate bathroom experience! Requires a working knowledge of residential plumbing or professional installation.
Always refer to the user manual and installation guide before attempting to install a unit on your own.
Now that you have a better understanding of the various types of bidets, let’s get the tools you will need to install your unit.
What You Will Need
Before installing a bidet unit, here are a couple of items you will need to do the installation properly:
- Adjustable wrenches – Versatile tools that can be used to tighten or loosen various nuts and bolts during the installation
- Teflon tape – AKA plumber’s tape, is another essential; it ensures watertight seals on threaded pipe connections, preventing any unwanted leaks.
- Connectors and adaptors: These are crucial as they bridge the gap between your bathroom’s existing plumbing and the new bidet setup, ensuring a smooth flow of water.
- Screwdriver: Will come in handy for assembling and securing different parts
- Rubber Gloves: Offers an added layer of protection from electric shock
Depending on the specific model of the bidet, some kits might come with specialized tools or additional materials. It’s always advisable to refer to the manufacturer’s guide and ensure you have everything on hand before beginning the installation process. Having the right tools not only simplifies the task but also guarantees a more secure and durable setup.
What to know before installing a bidet
If installing a traditional bidet or bidet toilet combo, safety should always be the topmost priority.
Follow these steps before installation:
- Shut off the water supply to the bathroom – This precautionary step ensures that you’re working in a dry environment, reducing the risk of accidental water spillage or leaks.
- Disconnect any electrical components in the vicinity – Mixing water and electricity can result in dangerous situations, including electrocution.
- Turn off the power to the circuit breaker – This will reduce the risk of electric shock
- Tuck any nearby outlets or wires safely away from the workspace – This will reduce the risk of electric shock
- Put on rubber gloves – This will reduce the risk of electric shock
Taking these essential precautions can save you from potential hazards, providing peace of mind as you upgrade your bathroom space.
Now that we have the tools and have taken the proper safety precautions, let’s dive into the installation process.
Step-by-Step Installation Guide
Installing a bidet toilet combo can be a rewarding DIY project if approached methodically. Here’s a comprehensive bullet-point guide to walk you through the process, from unboxing your new fixture to the final test run.
Important note before installing: Always refer to the manufacturer’s manual alongside this guide, as there might be model-specific instructions to be aware of
- Unboxing: Carefully remove the bidet toilet combo from its packaging. Lay out all the parts and cross-check them with the included manual to ensure that nothing is missing.
- Disconnect water supply: Like previously mentioned, make sure to disconnect the water supply to the existing toilet before you begin.
- Remove existing toilet: Using a screwdriver, loosen the bolts holding the existing seat in place. Life the seat off and set it aside.
- Position the Bidet or Bidet-toilet combo: Place the bidet on the toilet bowl, ensuring it aligns correctly with the mounting holes.
- Attach the Bidet Nozzle (if separate): Some models may have a detachable nozzle. If yours does, connect it as per the manufacturer’s instructions, ensuring it’s securely in place.
- Connect water supply: Attach one end of the provided water hose to the bidet and the other end to the water supply valve. Use Teflon tape on threaded connections to ensure a watertight seal.
- Connect Electrical Components (if applicable): If your bidet has electric features, ensure you plug it into a GFCI outlet for safety reasons. Make sure any wires are neatly organized and away from water sources.
- Secure the bidet toilet: Using the provided bolts and nuts, secure the bidet firmly to the toilet bowl. Make sure it’s stable and doesn’t wobble.
- Turn on water supply and test: Reopen the water supply valve. Flush the toilet and activate the bidet features to check for proper water flow and ensure there are no leaks. Test all functions, such as warm water or seat heating, if available.
- Final Inspection: Check all connections one last time. Ensure there’s no dropping water and that all electrical components are working properly.
Once you have successfully followed these steps, you will have a fully operational bidet or bidet toilet combo, ready to enhance your bathroom experience. Always refer to the manufacturer’s manual alongside this guide, as there might be model-specific instructions to be aware of
Conclusion
The journey of transforming your bathroom space with a bidet or bidet toilet combo is both rewarding and forward-thinking. As we adapt to the evolving paradigms of personal hygiene, sustainability, and convenience, integrating such modern fixtures becomes an obvious choice.
This guide aims to provide you with a clear roadmap for the installation process, emphasizing safety and accuracy. However, remember that while DIY endeavors are commendable, there’s no harm in seeking professional assistance if ever in doubt.
A bidet toilet combo isn’t just a bathroom upgrade; it’s a commitment to enhanced cleanliness, sustainability, and a touch of luxury. Embrace this modern marvel and enjoy the myriad benefits it offers for years to come.